How to sound like a pro with a low-cost Podcast setup
With close to a million active podcasts in 2020, you finally convince yourself to go out there and share your thoughts about it. So, you think you're ready to start a podcast but the cost to build your setup scares you. You have your topics, your guesses are pumped, you know the length of each episode, you have your triggering effects, music and jingles in place, you know all about podcast publishing... all your missing is your podcast setup to get going. You're asking yourself, where should I record the podcast? What equipment is needed to do a professional podcast? How do I edit my podcast? Basically, you want to know how to create a low-cost professional podcast. Well, here we'll go over what we think is important to take into consideration when building a podcast without compromising the sound quality.
When you listen to a professional podcast, you notice that everything falls out perfectly and the sound is impeccable. Now don't get carried away, it's not as easy as it seems. The real question is - is it possible to build a podcast setup on a budget and still sound like a pro? The answer is yes! Here we'll share you a way to build your own podcast setup following 3 main steps.
Choosing the right place
If you're like me and your house is always full of actions... well, unless your topic is about family culture, doing it ''in house'' is not an option. I think you get it, it is crucial that you find a place that is quiet and away from distractions. There are many options. Here we'll list 5 of our preferred location suggestions to record your first podcast.
Airbnb
You can rent an Airbnb for a day for less than 100$. This option allows you to create a comfortable and warm set up. That can be a great asset when it comes to making yourself or your guess open and relaxes before starting the show. As you know, many owners include some great commodities such as the internet, water, coffee and more. Just make sure it is well located in terms of traffic noise and soundproofing. A good thing to think about is public transport and parking spaces if you want to make sure you start on time. Make sure you're renting a whole unit and not just a room as the owner might be present otherwise and potentially ruin your production or even be against such use of his unit. Has the rules and law may differ city from the city, be aware of the regulation in your state before opting for that type of adventure.
Breather & Giggster
That's another great way if you're more into something more corporate or you feel that your podcast guests need a more professional look. If you go with the daily rates, this can easily bust your budget but if you know you can nail everything in an hour or two, this could be your best option. Going with a full day can be beneficial if you plan on doing more than one episode in one day. With Breather rentals, commodities are also available in most of their facilities but besides the internet, I suggest that you go to your local market place to buy bottles of water and more. The cost would be between 20$-75$ per hour and 160$-600$ per day depending on the location and size of the space. In the last few years rental sites like Giggster also grew significantly. You'll find many interesting locations to rent out there.
Recording Studio
If you're alone in your project or you're simply not comfortable dealing with sound equipment and tech, booking a studio session can be a great option. Ask for an appointment and share your idea. The sound engineer can anticipate much more than you can imagine and help you focus on preparing your content and logistics before you start recording.
Obviously that can be your best option if you're worried about the soundproof room. To avoid any disappointment refer yourself to a studio that already done a podcast and has all the equipment in house to record your podcast. Such as chairs, table, the right amount of mics (same brand if possible), if they're able to do incoming calls, the internet (if you're doing a live podcast), able to record long takes, etc. After the session, you'll have to option to ask for the multi-track in waves format (.wav) and do the audio editing on your own or have them do it directly.
Anyhow, always ask for all your audio files at the end of the session. That means you have to make sure you bring a USB key or hard drive to avoid any delays. Here in Montreal, most studios charge by the hours and it can vary from 35$ per hour to 150$ per hour. Before booking, make sure you ask if the setup time is billed on your time. If you're planning on doing a lot of podcast episodes per month, asking for a monthly deal can maybe get you a volume discount. I average I would say that you need a two-hour session to record a 60 min podcast.
Podcast setting we built when GalaMedia challenged us to help them create an innovative Podcast called CScience! It's...
Posted by Great Things Studios - Video Production & Recording Studio on Sunday, September 23, 2018
In Your Car
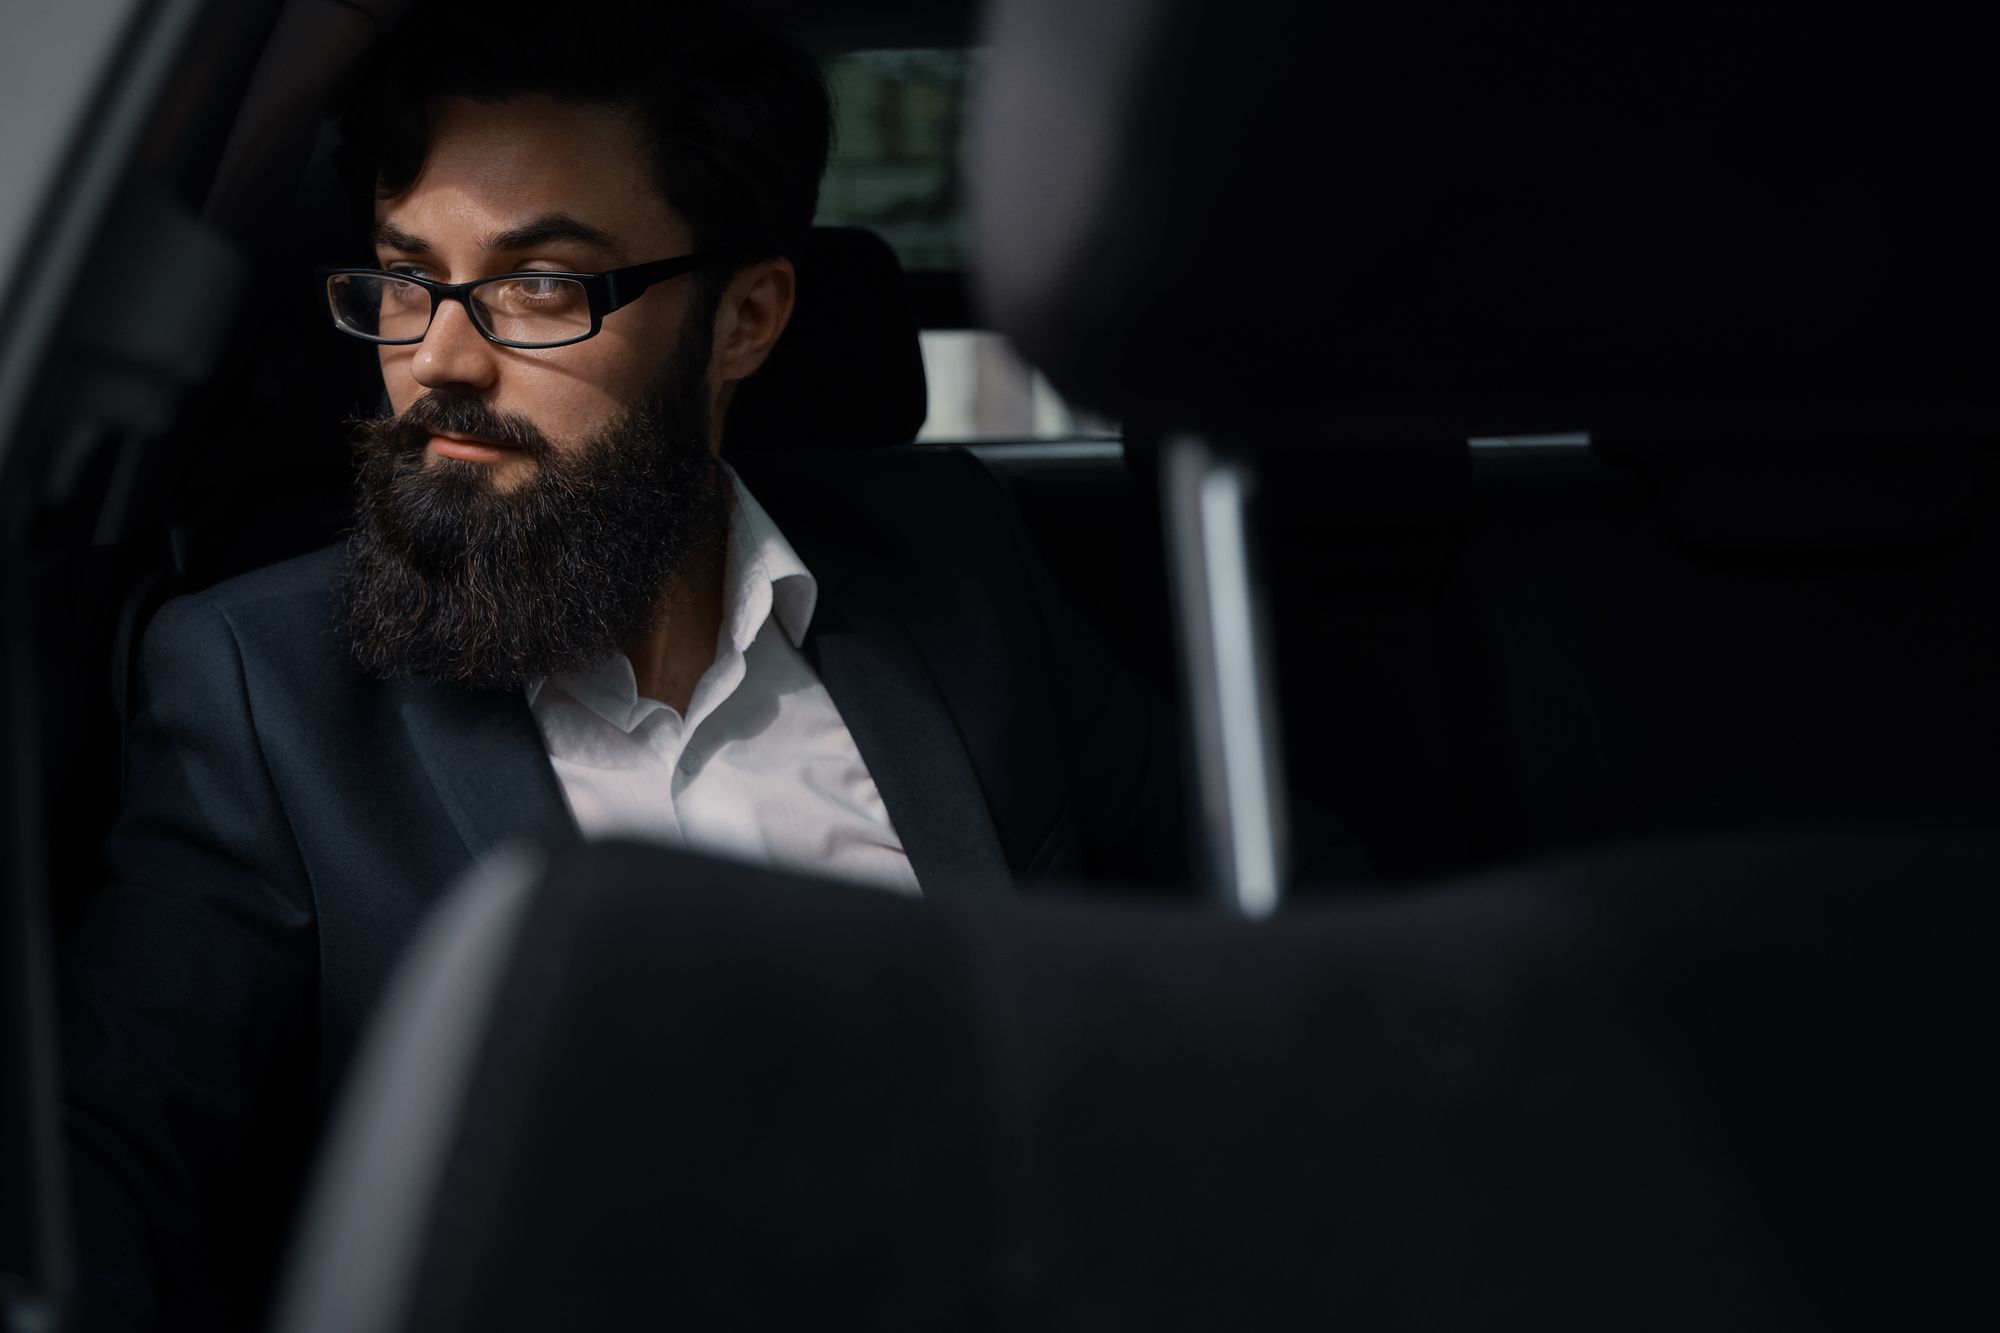
Once again it all depends on your concept, the topic and the audience you're trying to reach. But let me tell you that if you're on a budget or you want to be able to pick up your guess or dropping them in a specific spot like in front of a restaurant for a review podcast about their choice of favorite food takes out... well, your car can finally be more of an asset. You'll be surprised how much a car is soundproof and can be a great spot to record a podcast. For that option, the choice of equipment will be important since you'll have to make sure everything can run with batteries or can be charged through USB. Here you can have close to no fee in terms of location cost. Your main cost would be gas if you're planning on moving with the car. If you want to bring it to another level or your current car doesn't have the best look or you're simply worried about the environment, you can always opt for a car rental and choose something that suits your needs. A few car rental companies often offer a great discount on the daily managers' choice for an economy of a superior category of vehicles. Anticipate a budget between 30$ to 150$ per day if you already have car insurance.
At the Library
If you're a student that can be a simple way to go. A lot of public or student libraries offer some study rooms that are well soundproof, as they know, most people using those rooms have to chat to get some work done. From all the options, I believe this is the less expensive one if you already own a library card. In terms of marketing, that can also be a good win since users and/or students will want to take a peek at your set and wonder what it is all about. As you may know, some podcast well-respected base on the fact that they often have professionally speaking behind the mic. You got it! If your topic can attract teachers from your school, that can maybe provide you some unexpected benefits.
There's obviously tones of more options if you're just a bit creative. You can try to convince a local restaurant or coffee shop to rent their place at their calm moment, for example. In general, remember that the look of your location is less important if you're not filming your podcast. What's important here is that you and your guests are comfortable. Always remember, clean sound is key for a great podcast.
The perfect equipment to record a Podcast
There's a decent choice of equipment to go with when it comes to recording a podcast. Here we'll list of what we think is cost-efficient and allows you to create a podcast quickly. Especially if you're not doing a permanent set up, our suggestion might be the best for you. We will focus on 3 main points. A good microphone, the right audio recorder, and the choice of headphones are essential. Everything else I secondary especially if you're not doing a live podcast. Our choice allows you to really focus on your content and less about the technical part since those gadgets are pretty easy to use and are intuitive.
Microphones for Podcast
In terms of cost efficiency, to jump-start your first podcast we suggest 2 kinds of microphones.
- Audio-Technica AT2020 - 150$ a condensor microphone
- Shure SM58 - 130$ a dynamic microphone
- Roccat Torch USB microphone - a 99$ plug and play USB microphone
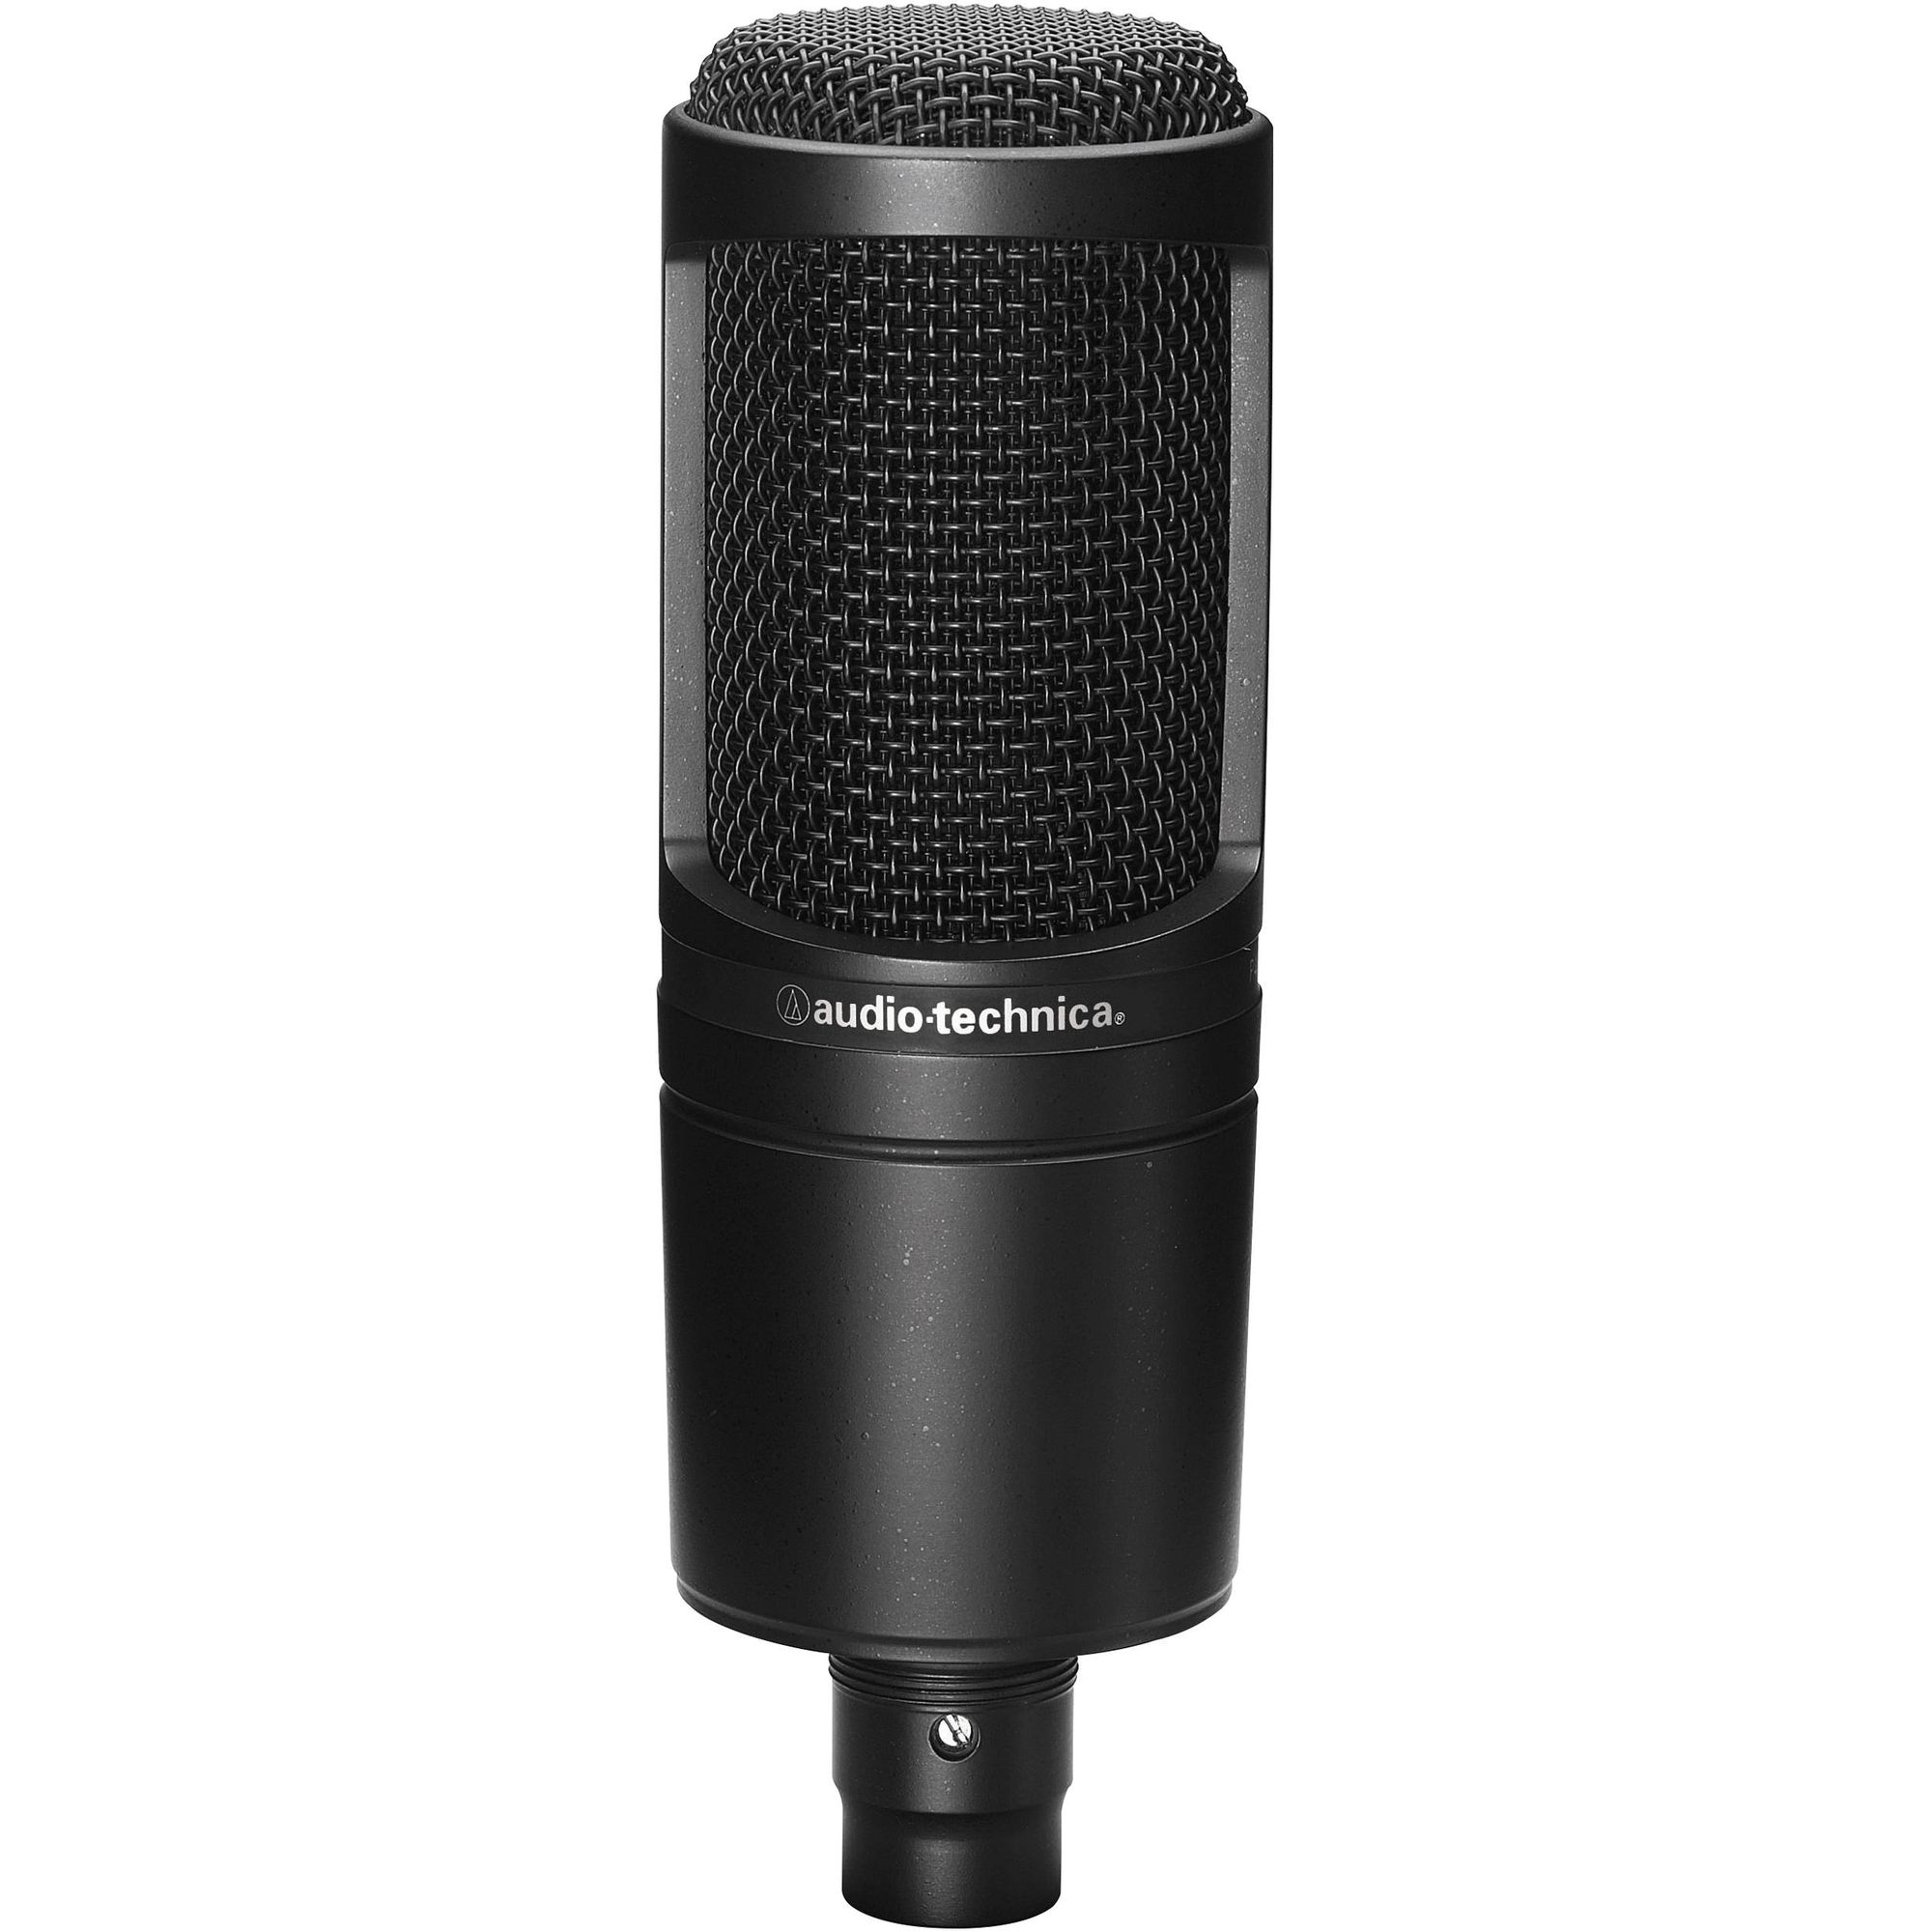
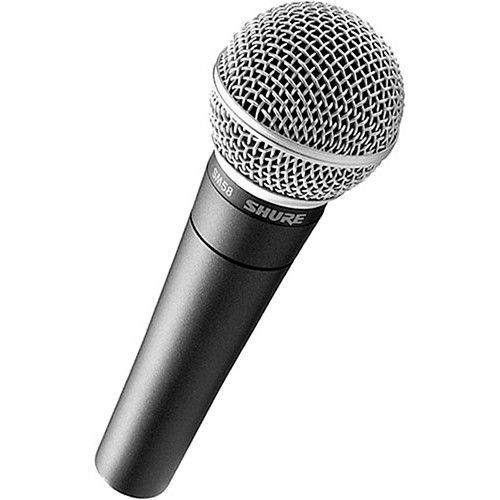
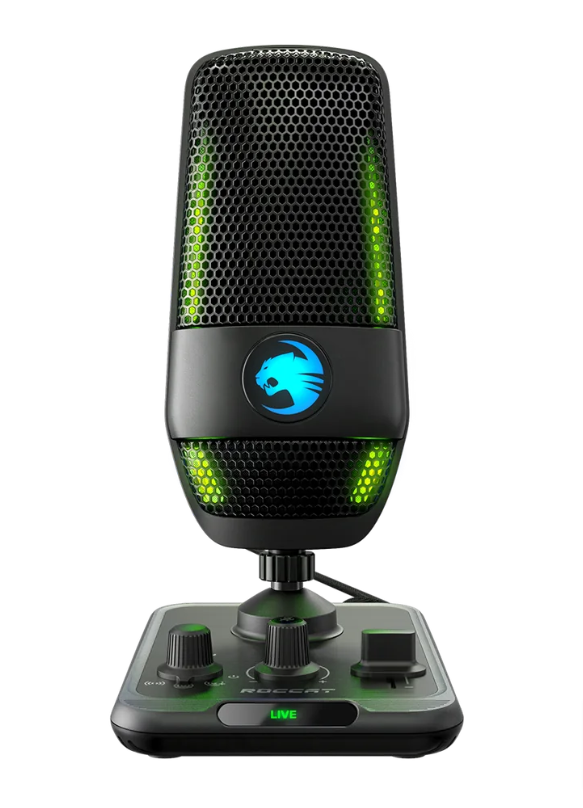
Remember this post is about low-budget option. Some top of the line radio microphone cost up to several hundred dollar like the popular Shure SM7B to thousands like legendary the earthwork SV33.
If you're just testing your project, or you just want to build a pilot, you can even rent those for approximately 10% of their value. Although a good large-diaphragm condenser microphone can provide a more warm studio sound, those mics need phantom power (48v). It might not be the best option if your whole kit will run through batteries and especially if you'll record with multiple microphones at the same time.
Besides the microphone you need, you have to think about everything else that's attached to it. For starters, we like to propose the all in one Neewer NW-35 Metal Suspension Boom Scissor Arm Stand. What a long name for one item 🤣. But it says it all, this kit includes the most important items you need for your microphones:
- Scissor Microphone Arm Stand
- Shock Mount - To hold your mics
- Integrated XLR - Male to female microphone cable
- Table mounting clamp - Allowing you to clamp your stand to any type of tables
This kit would cost close to 30$ per kit. Now the only thing missing would be a good pop filter. A pop filter is a noise protection screen for microphones. It basically reduces the sound of air popping directly to the mic causing unwanted sound or artifacts. You can find some good ones around 15$ but I suggest you go with the metal ones. Those are a bit more expensive but tend to last a bit longer and are easier to clean. Metal pop-filters can cost around 40$ a piece. That concludes the kit you need for the microphones. You can find all those pieces of equipment at Amazon.
We didn't propose any USB microphone simply because we believe you'll have way more control of your podcast if you pass by an audio recorder. Recording directly in your laptop or computer if you're doing a solo type of podcast. For more complex and interactive podcast episodes, using an audio recorder is a must.
Audio Recorder for Podcast
Now that you've chosen the right mic, it's time to get yourself the right audio recorder. We narrow our choices to 2 great devices. One that allows you to your podcast without power cords using a portable handheld recorder. The second one needs an AC adapter but provide much more option which will be described below. Both devices can take up to 4 microphones. Surprisingly, both suggestions allow you to plug through a computer or laptop with a USB cable as a sound card allowing you to record in multitrack mode to your DAW (digital audio workstation). We'll cover that subject later on. For now let's focus on the recorder, the most expensive piece of equipment you'll have to buy.
Zoom H6 Handy Recorder
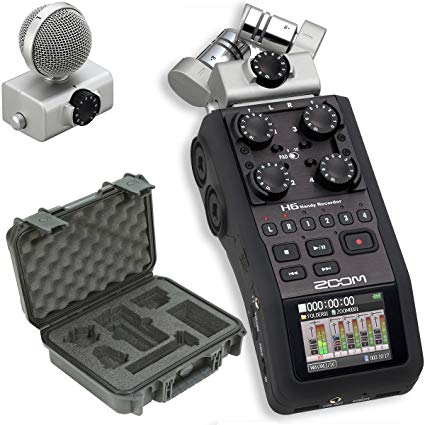
If we shouldn't judge a book by its cover, we shouldn't judge the Zoom H6 by its size. I believe this small and rugged device is the most versatile portable recorder in the market for its price range. This baby allows you to record up to 4 mics for your podcast. At the top of the device, you even have up to 6 interchangeable mic capsules. This option provides you the option of using the XYH-6 capsule. A mic you attach on top of your recorder allowing you to do a high-quality wide range of the stereo recording. I would use this as a backup and reference audio since it will record everything at close range. It can also be used to enhance background sound when need be. The Zoom H6 lets you calibrate each channel for your mics separately and you have a small full-color LCD display that lets you navigate through the menu but most importantly see the decibel level for each channel. Other cool features include with the Zoom H6 kit:
- Can run between 15 and 20 hours with 4 AA alkaline or NiMH rechargeable batteries
- Built-in effects - Low-cut filter, Compressor, and limiter
- Can be used with an audio interface for PCs, MAC, and even iPad 😲
- Phantom power for main inputs (12, 24 and 48 V)
- Comes with useful software
- You can arrange your takes an episode in specific folders
- Record internally through SD, SDHC, or SDXC card
This little toy cost around 460$. In the box you also got the XYH-6 X/Y capsule that I mention being useful for backup takes but it also comes with the MSH-6 MS capsule. The MSH-6 MS capsule is good for quick interviews you want to share during the podcast. Right after a conference of a speaker, you couldn't convince to come to your show, pop your Zoom H6, press rec and ask your question on the spot. A great weapon to have. It definitely beats the ones recording with their cellphones 😅.
RODECaster Pro II
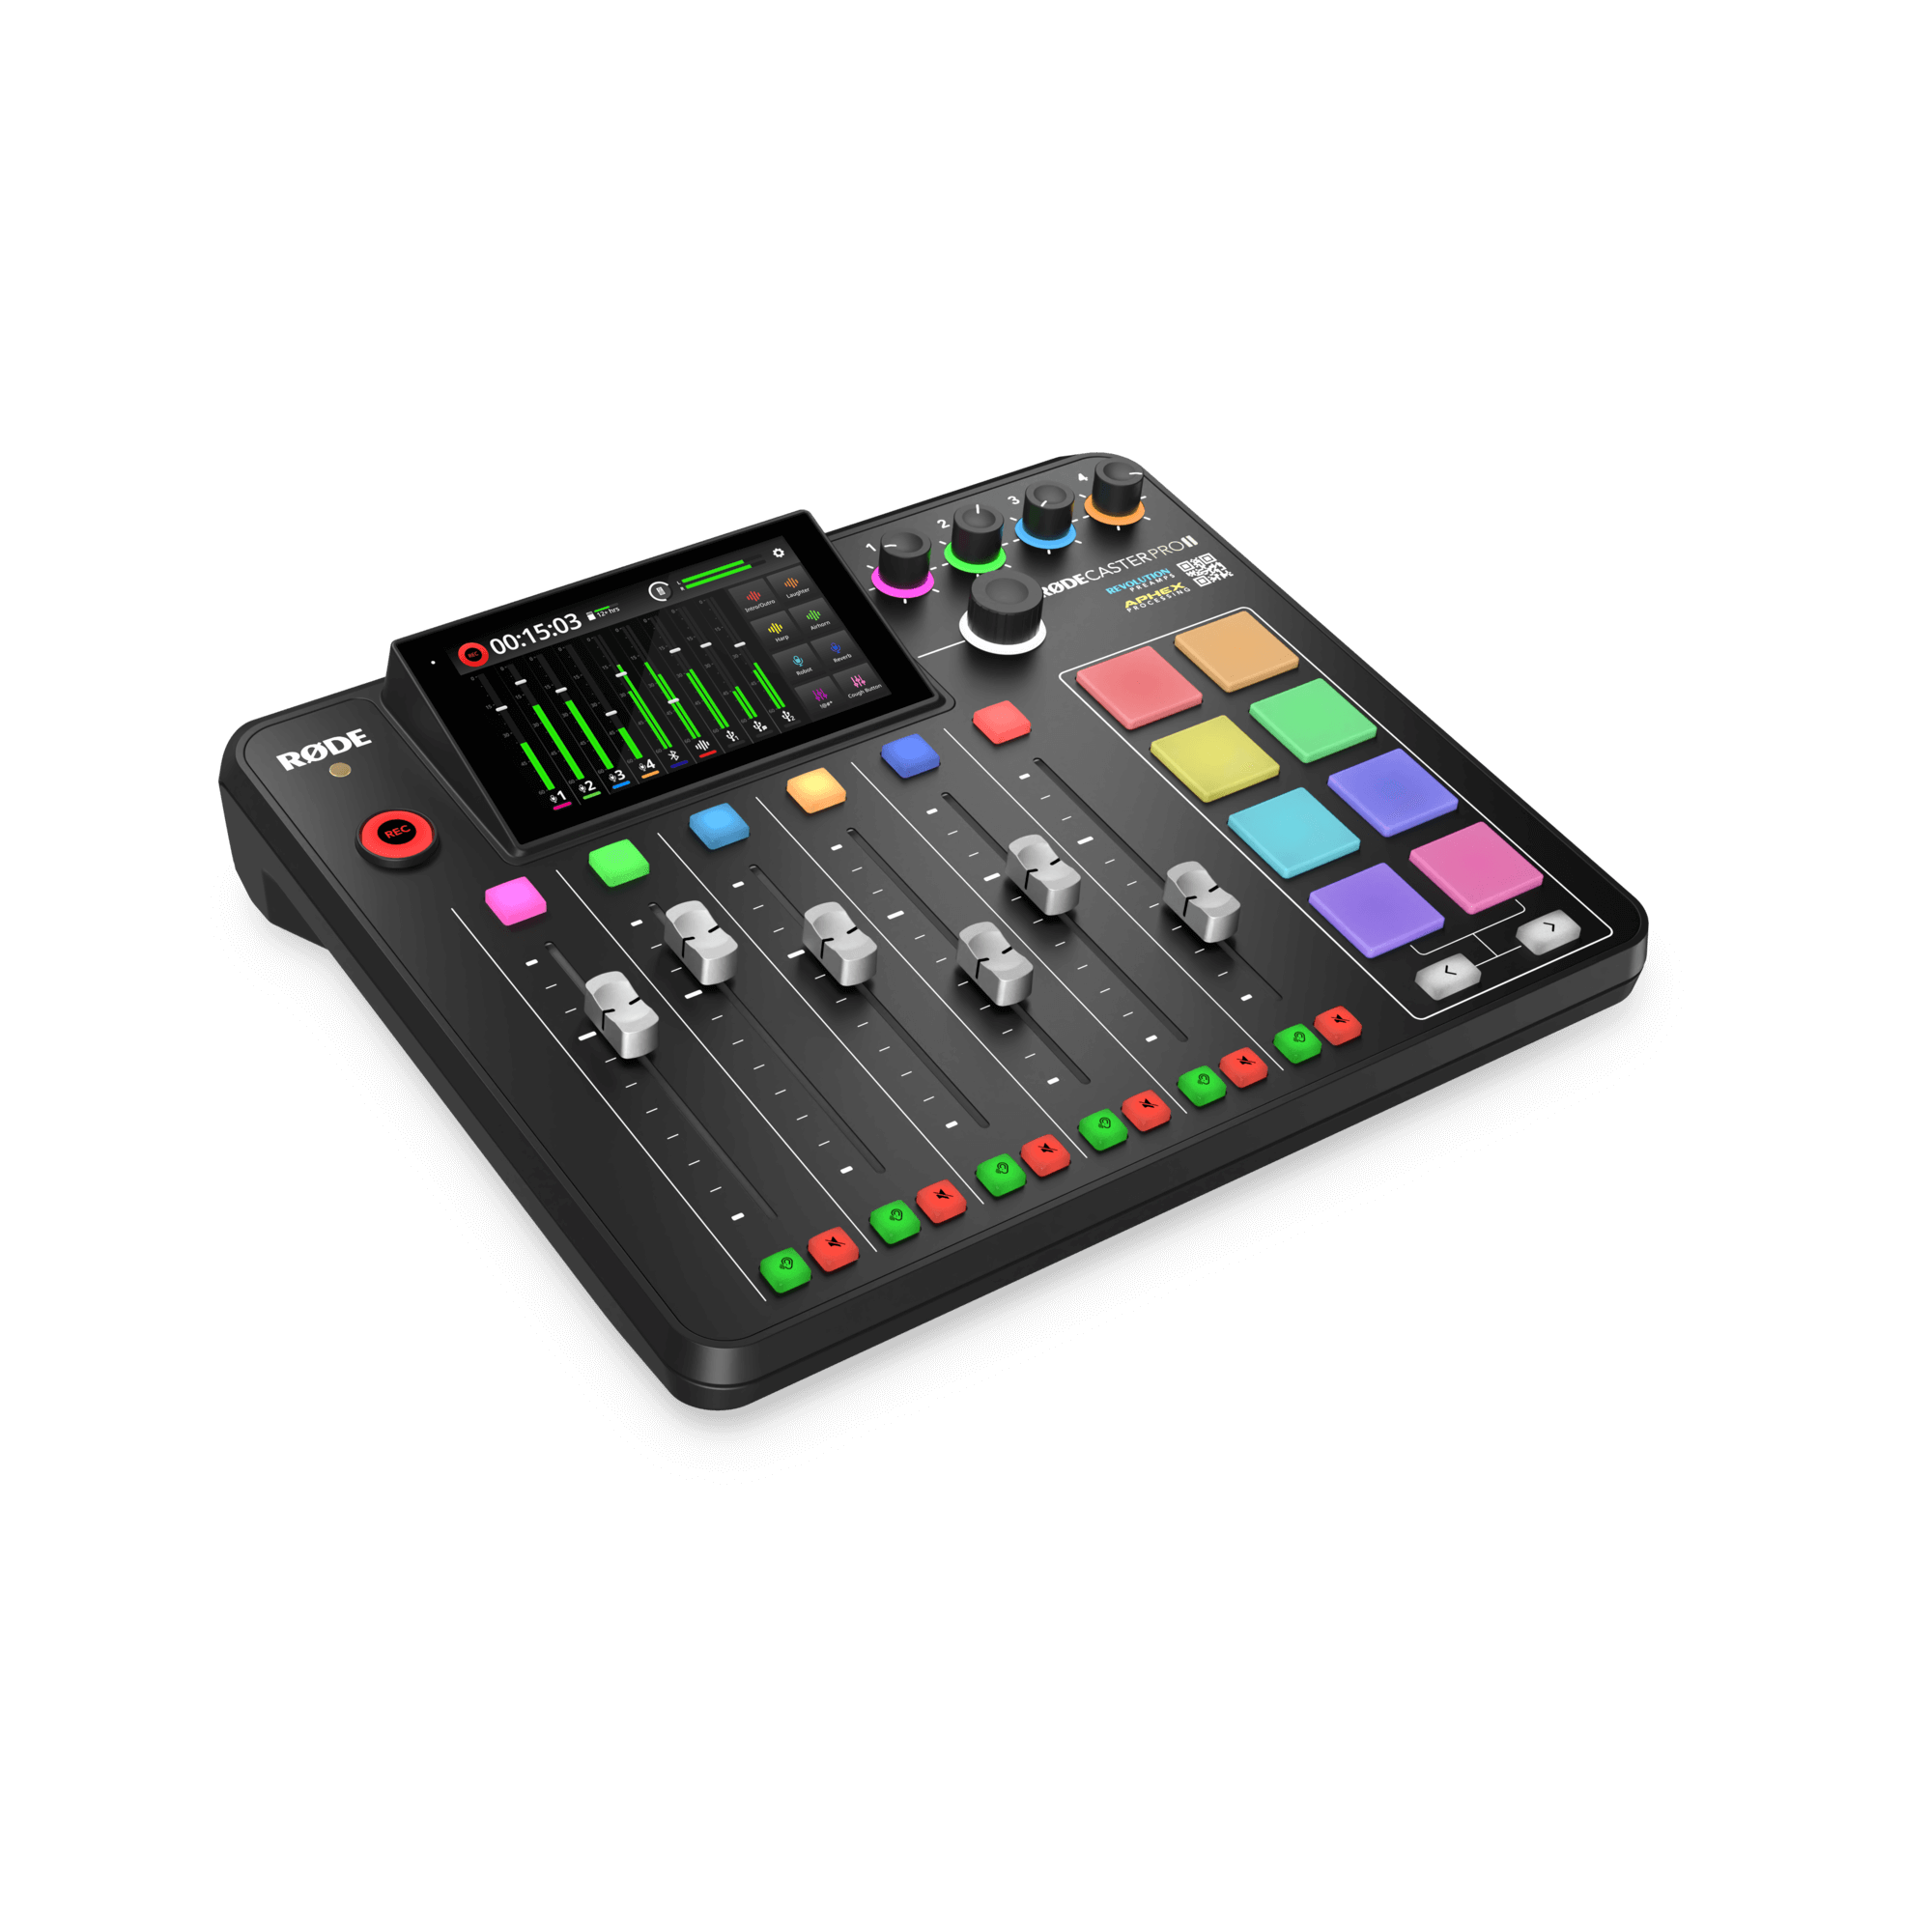
As the name states... This one claim to be professional. I admit it looks a lot like a DJ mixer with the pads and the lead colors. While the Zoom proposes knobs to control the input level, this RODECaster Pro ii gives you a different feeling. Using faders this device helps you see quicker the level, you set for each channel. You say that it's a question of preference but I believe the faders give you more precision when leveling your inputs the right dB. At the bottom, you also have solo and mute buttons allowing you to quickly mute unwanted channels. Pretty handy since you may have some segment during your podcast that only certain speakers should talk. But hey, you can always edit afterward if you're not dealing with live podcast factors.
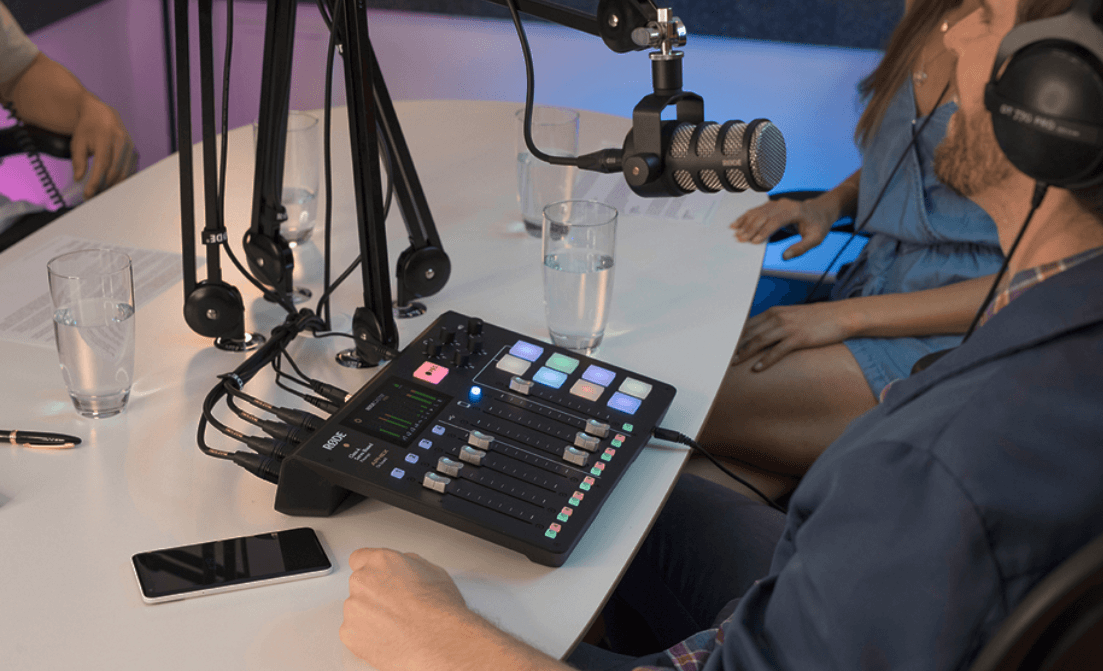
Depending on the level of production and the experience you want to share with your guest, another great feature the Rode company adds to this device is the eighth programmable sound effects pads. This add-on gives you infinite possibilities. You can program in advance for some applause, ads, pre-recorded interviews, jingles, music, etc. How you program it? Even at that level, they made it simple. With the software they provide, you connect the recorder to your computer and simply drag and drop your files. Plus, you like the illumination of the pads, well even that can be customized to your liking. At Great Things Studios, our podcaster often needs to insert phone calls in their episode since all their guests or animators are not always available for the recording date. That's a challenge you may be facing while starting a podcast. Sometimes it simply causes the person I too far away or they're too shy to talk in front of a mic. The RODECaster Pro got you with their integrated phone call system via Bluetooth or with a TRRS cable. You even have a dedicated fader for that use. Awesome! To sum up, here's a list of the perks this gadget offer:
- Up to 4 headphone connectors with separate volume control
- Connect directly to the computer through USB for more media control
- Control your master output with fader
- Great LCD touch screen to navigate through the menu and see the audio level
- APHEX audio processors: Aural Exciter and Big Bottom - Create a Rich & warm tone
- Built-in effects: Compressor, De-Esser, Ducking, High-pass Filter, and Noise Gate
- Record internally through Micro SD card
Both pieces of equipment have their pros and cons, you'll have to choose according to your needs and the complexity of your podcast. Well, knowing the price of the RODECaster pro might help you too. This multi-function recorder costs around 800$. If your stock on your decision, and wondering if you should pay double the price... If audio quality is really the most important thing for you, well RODE win on audio quality since their integrated preamps are pretty efficient. A good option also if you want to reduce as much as possible the background noise.
Headphones
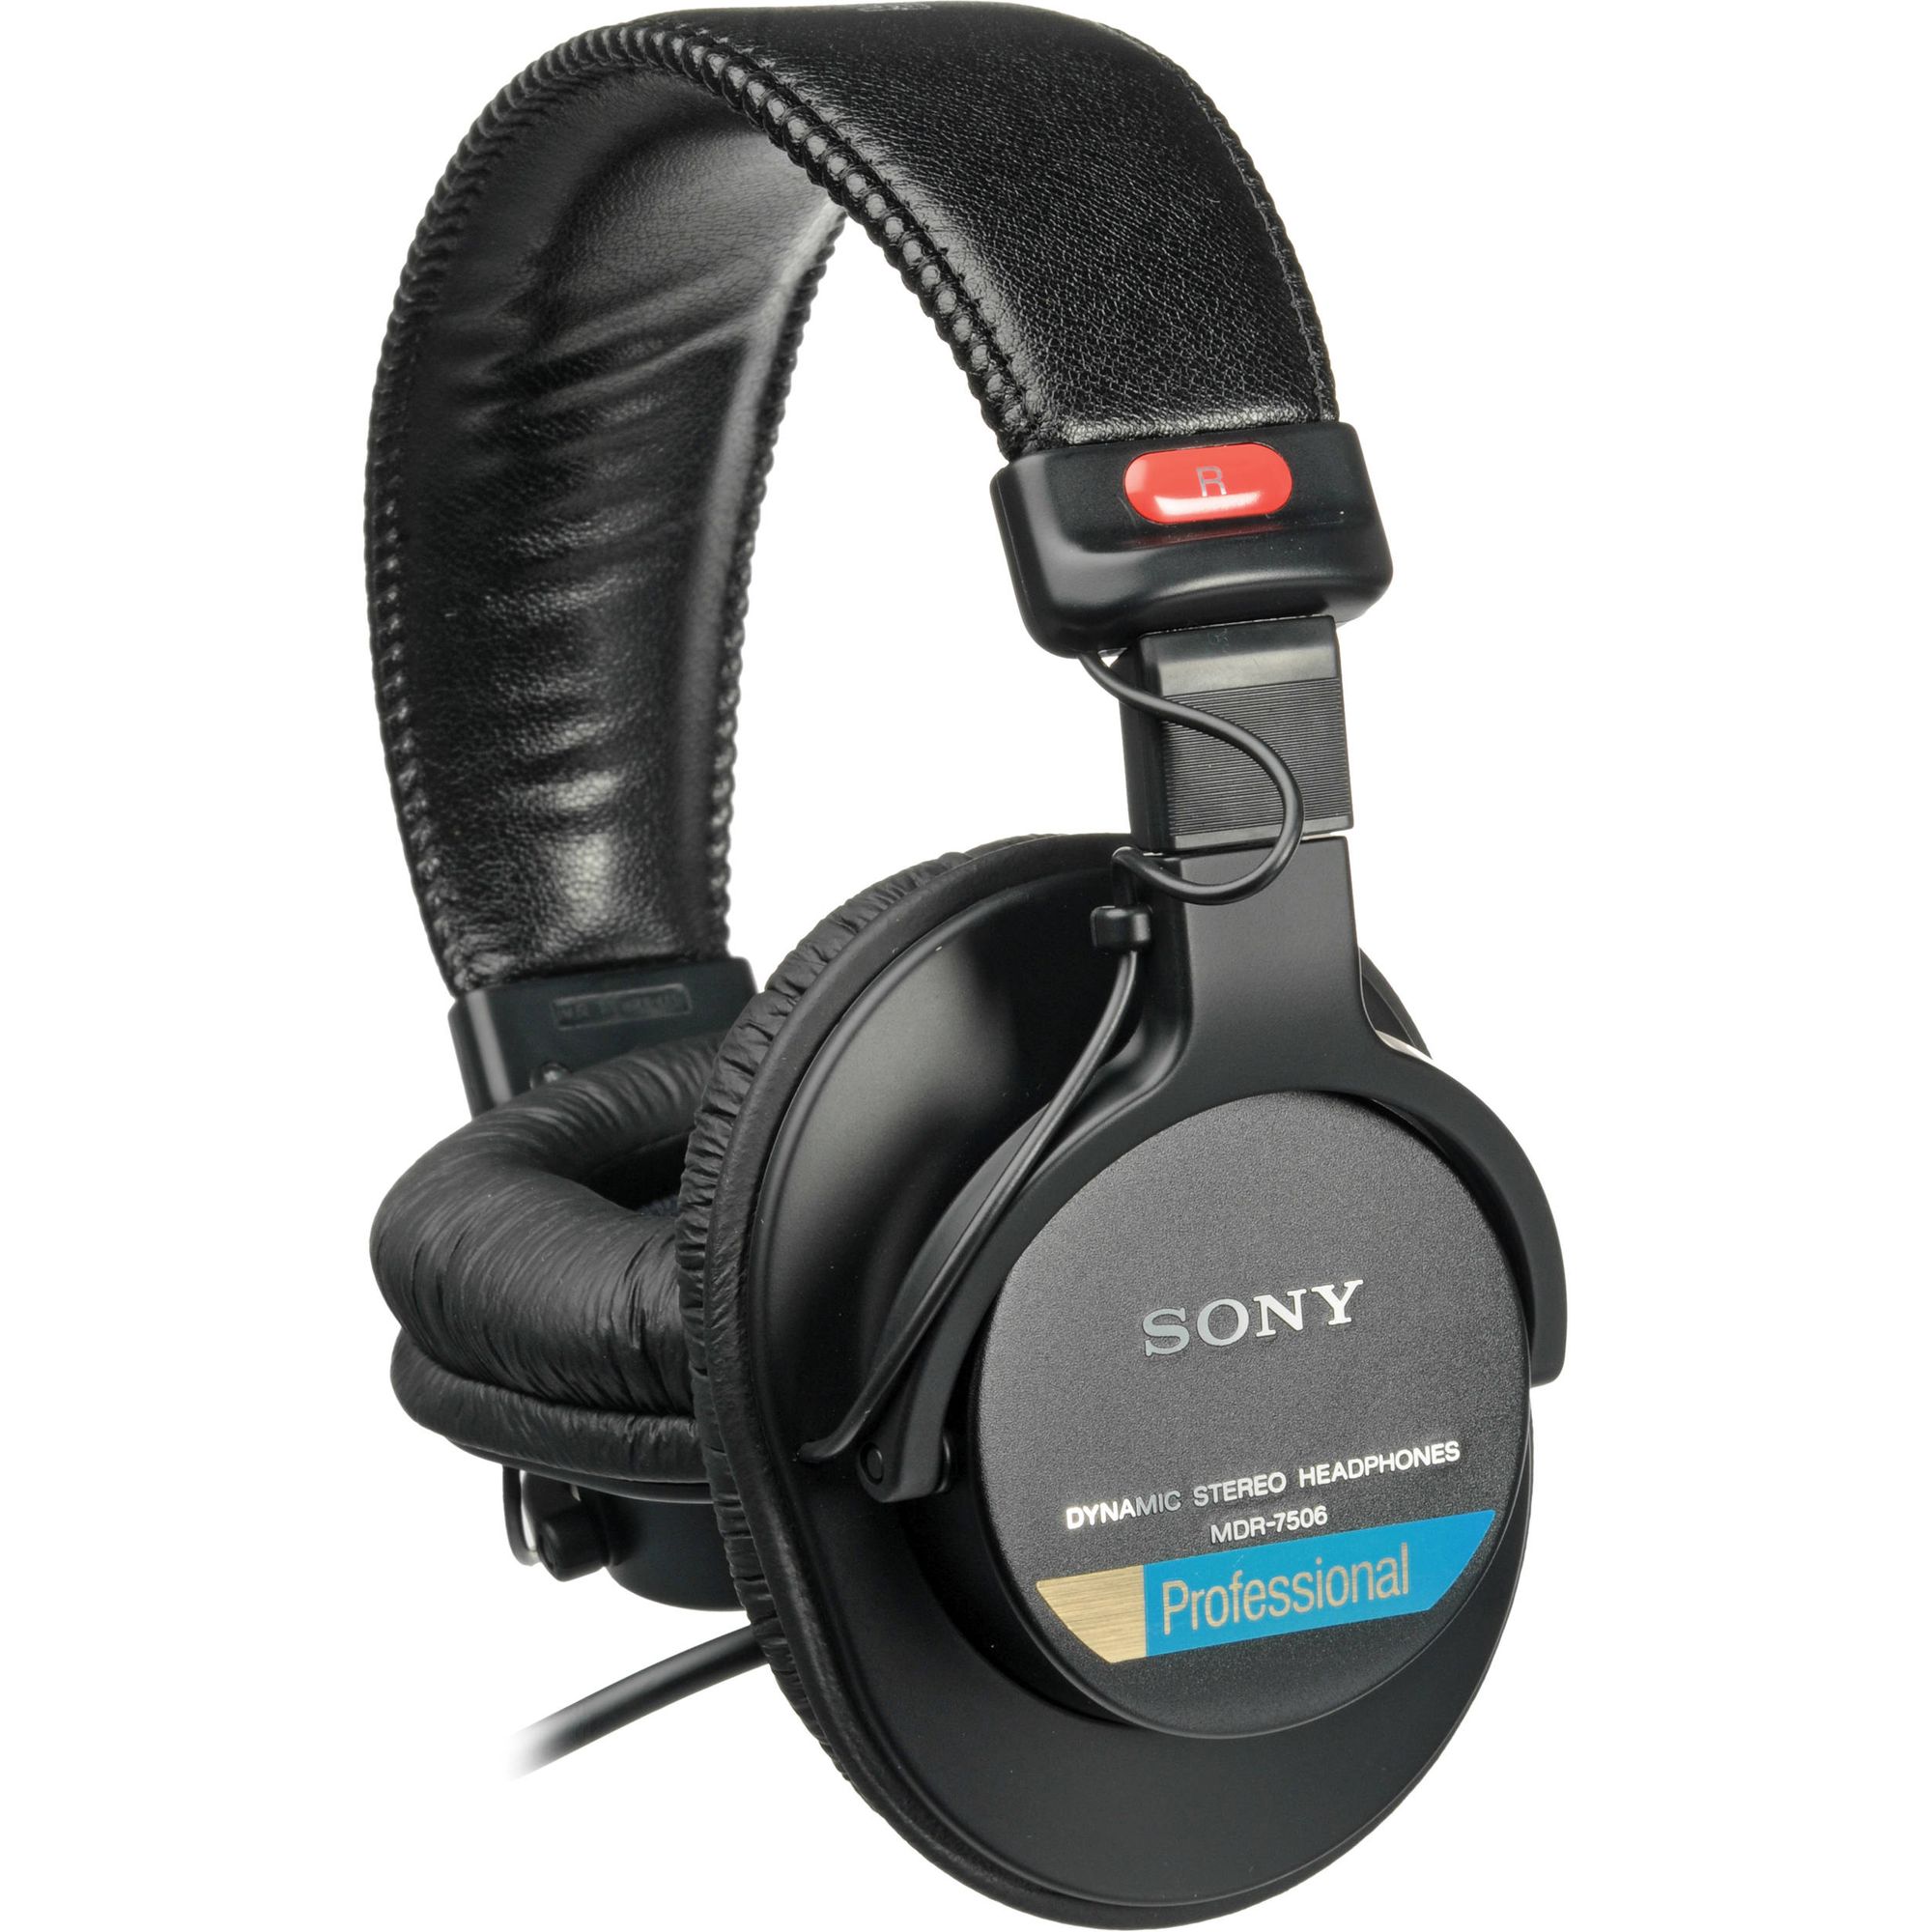
There are a lot of choices out there for headphones. You may ask yourself if you need one for everyone, just for you or none. If you're doing a simple kind of podcast with only discussions. Well, you can live with only one headphone. Since you need to calibrate the sound and make sure every mic is well leveled. If you're worried about the aesthetic look, you can always have someone else to take control of the recorder. The most important advice I would have for you is to make sure you use a headphone with good padding and that avoids a sound leak. Basically you don't want sounds to bounce back into your mix. The Sony MDR7506 is a good example selling at 150$ online.
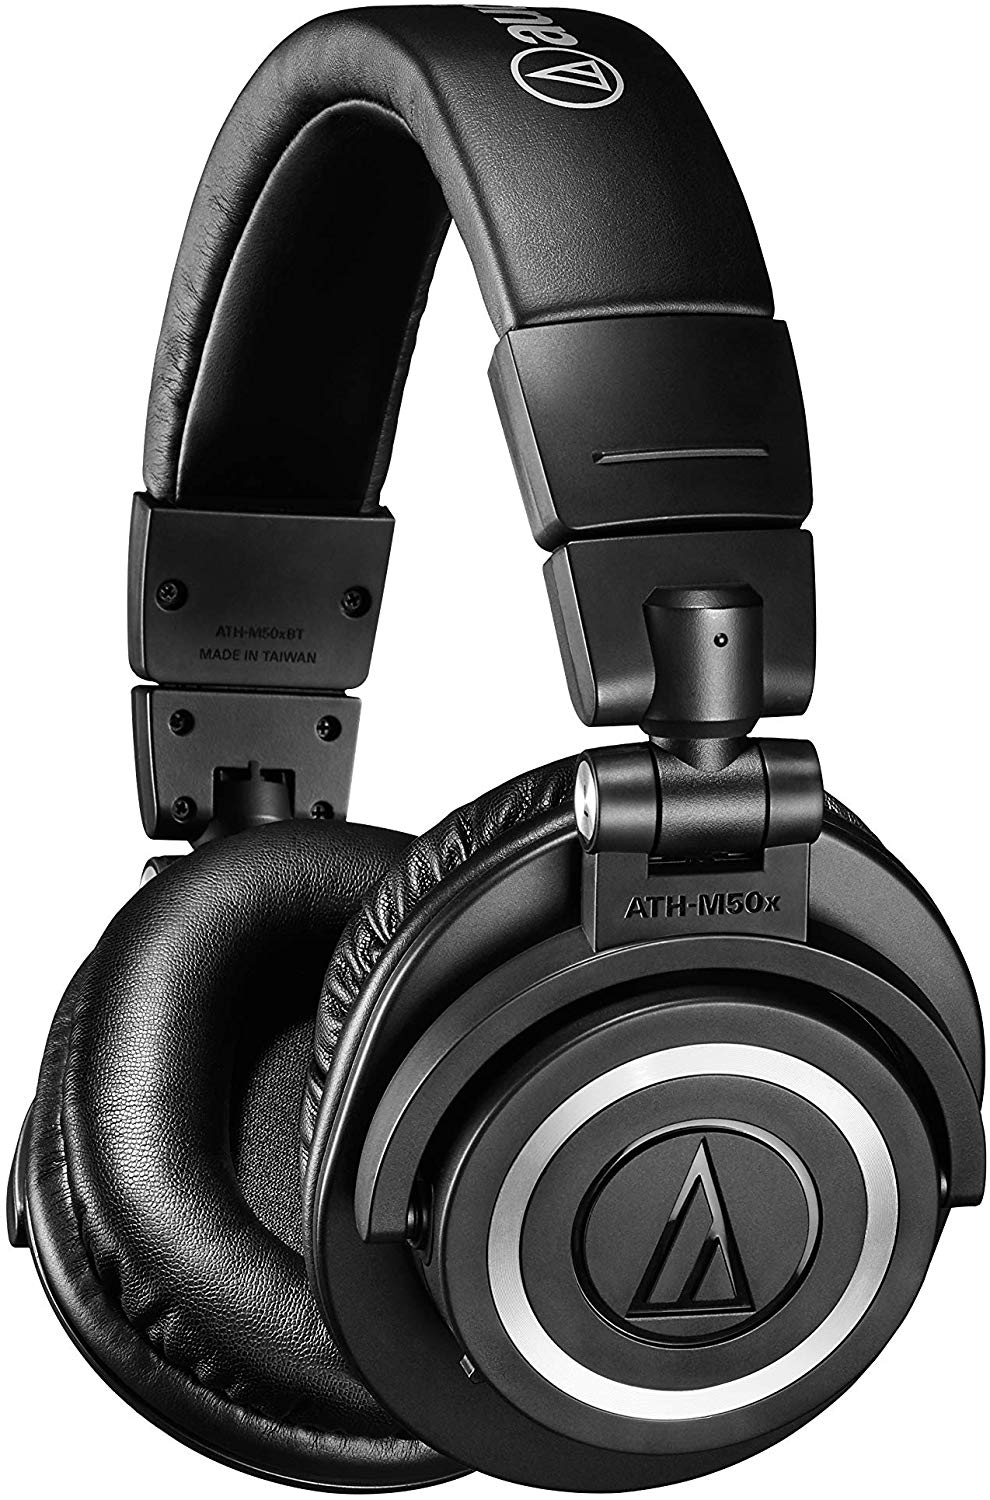
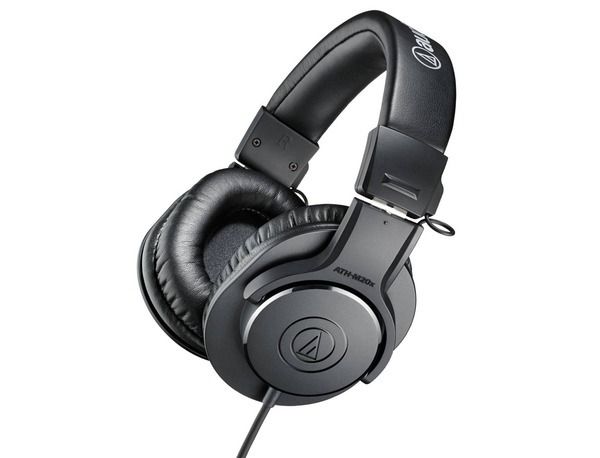
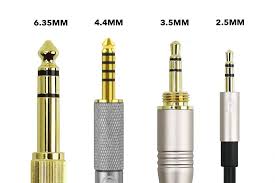
But I assure you, you can find some decent brand and model under 100$ like the AKG K 240 at 90$ or the Audio-Technica ATH-M20x at 70$. Another thing to take into consideration is to make sure you get yourself a headphone that has a long enough audio cable and allows you to go from 3.5 mm to 6.35 mm jack.
Podcast recording tips and tricks
Now that you have all the essentials to get started, before you press the record button:
- Explain to everyone the way the podcast will go on and when each speaker will have to intervene - Show notes if you have some prepared
- Make sure you have enough space in your memory card
- Do a sound check with everyone separately and make sure they test with the same tone they will take during the podcast - Try asking a real question for a warm-up.
- Good to each mic level around -15.0 to -18.0 dB
- Make sure everyone has their phones on silence - not even on vibration since the mic can probably hear the vibration when the phone is on the table.
- Remind everyone to talk close to the microphone pop filters
- Check if there's any background noise and try to eliminate them
- Keep the audio recorder or mixer close to you for any instant troubleshoot.
Once you did press the record button, keep an eye on the recorder to ensure you are always rolling. When the podcast is done, you should listen right away to check if everything was well recorded. You don't need to listen to every word but give it a quick run-through at the beginning, midway and at the end. Even with well-trained teams, errors can happen. That's why I always suggest having an extra person on the set the day of the recording to overview everything and that makes sure that nothing is forgotten. Using a checklist can be a good idea.
Length of a Podcast
OK, you're done with your first episode. Everything is in the box. All is left to do is to edit your footage and make the episode the length you want. Now some may ask what's the perfect length for a podcast. To be honest, there's no straight answer to that one. In general, I would suggest that you make sure 3/4 of your content is dope. From there you can check with successful podcaster the trend according to your industry or topic.
Editing
When it comes the time to editing there's a lot to take into consideration. First, you'll have to choose the software that you feel comfortable in. That's just like choosing a car and if you'll be driving automatic or manual. They're all similar in the end. It's more a question of preference. If you opt for the Zoom H6 remember that you'll have two powerful software included in the box. That is Cubase LE and WaveLab. Other than that, there are tones of software available.
- Logic Pro (MAC) - 200$
- Audio Audition from Adobe collection - Free if you already own a Creative Cloud Suite or 20$/m
- Sonar / Cakewalk by BanLab - Free since BandLab bought Cakewalk
As mention is a question workspace ergonomic preference. At the end of the day, they all allow you to import, cut, trim, compress, and optimize your project. They're all good editing software.
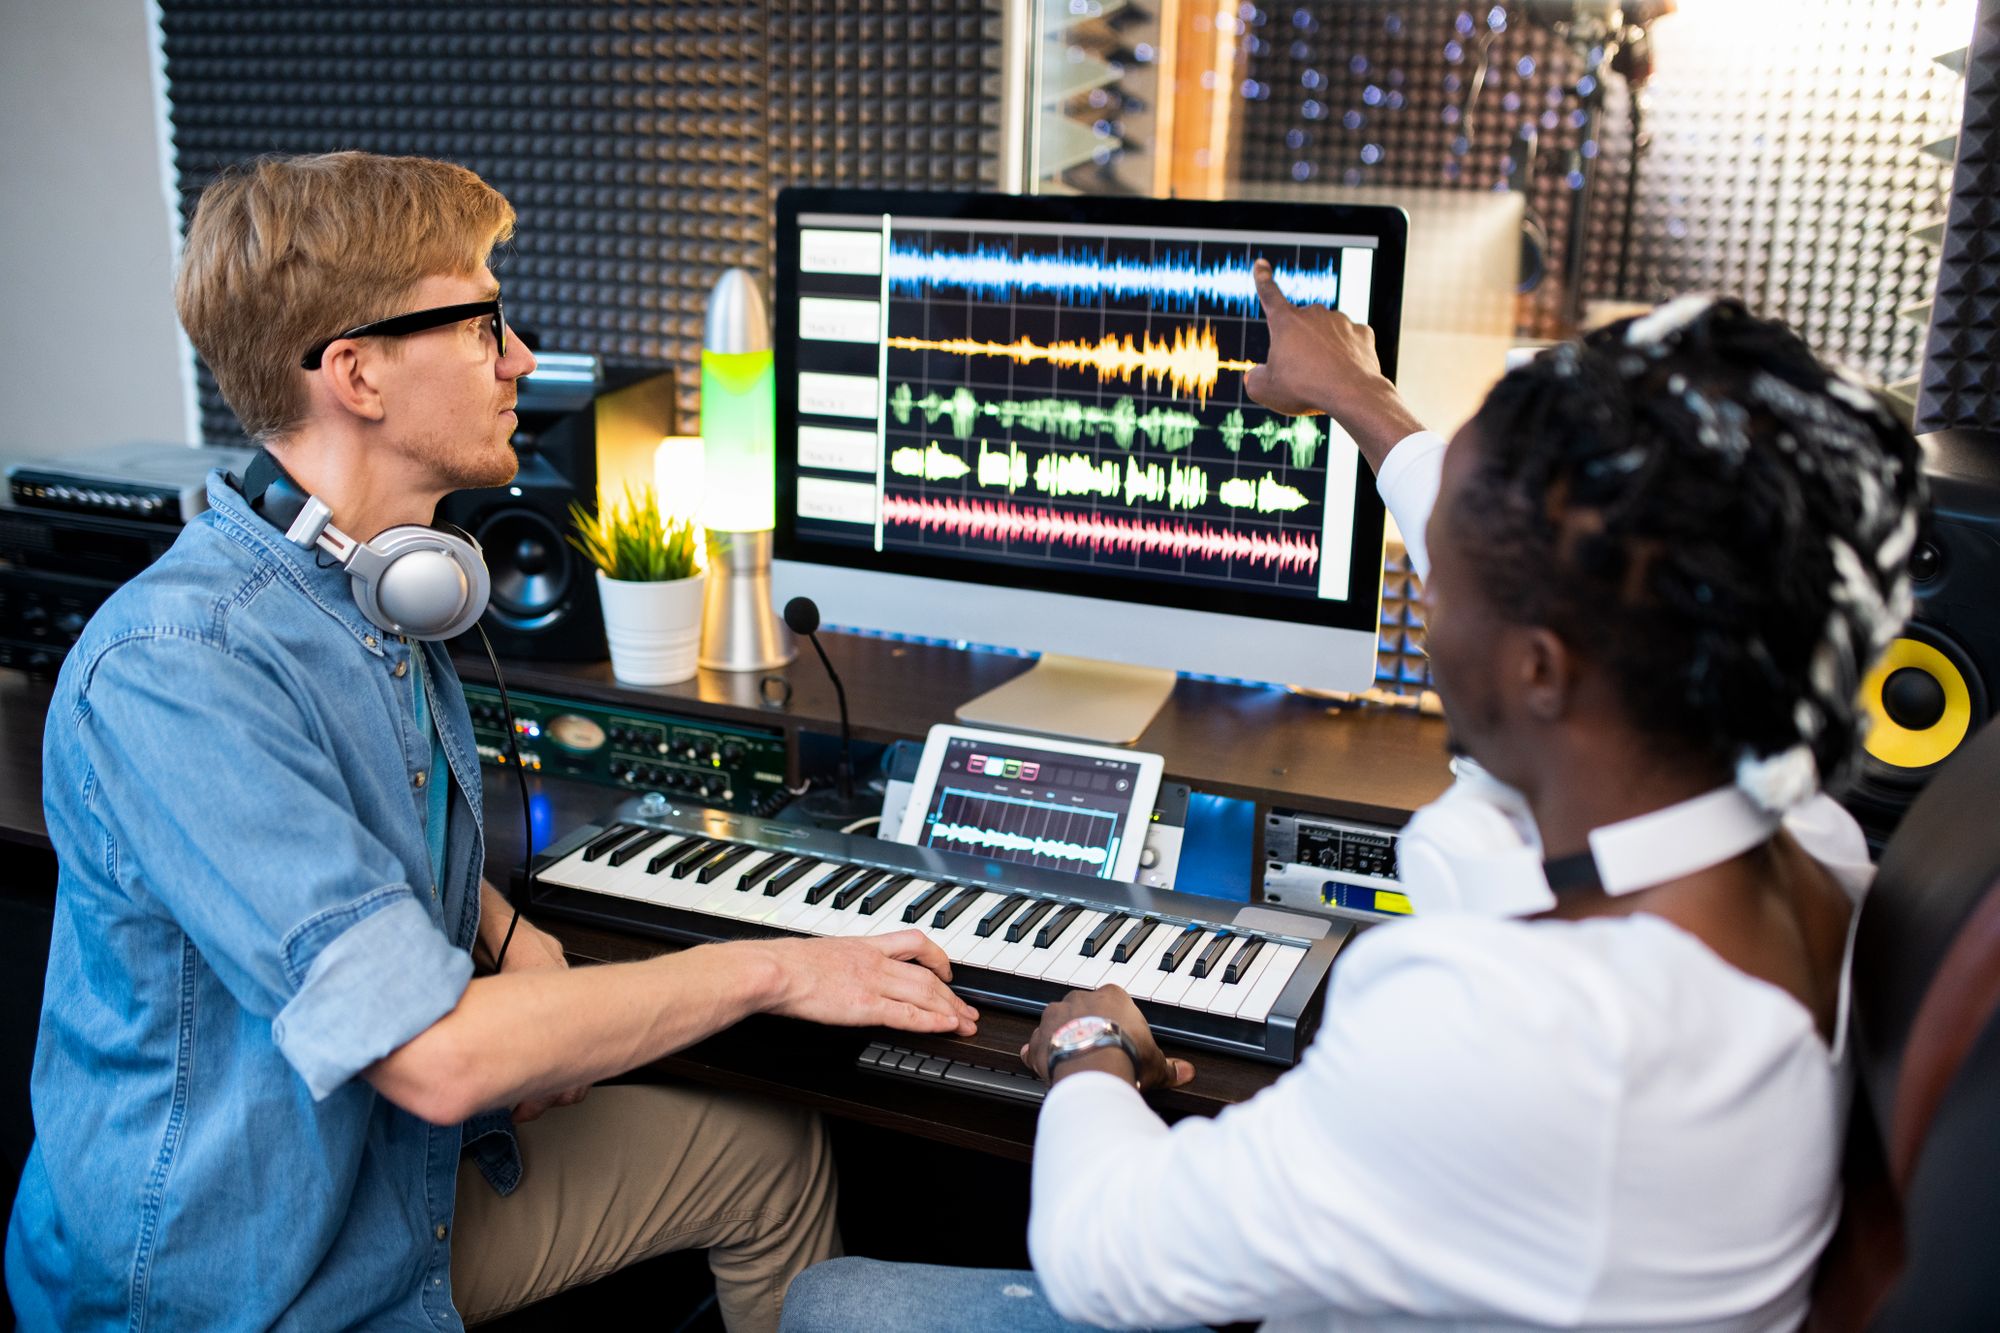
While editing you can cut much of the down moment and even when there's a big gap of silence in one channel. It has to feel natural though sometimes keeping a bit of the background noise makes it feel more organic and natural. Also, try not to cut on the spontaneous reactions as they might be hard to see visually in your waveforms. Use the single mono track of each channel and not the blend version or the stereo backup version. Before exporting your peak level shouldn't pass -1.0 dB.
I guess now you know how to create a low-cost professional podcast. Here we cover the important elements to take into consideration when building your first podcast. From choosing the right location to doing post-production the cost for making your own setup would be between 1 200$ to 2 200$. Once you're done with these steps, you'll be ready for the next one. Podcast hosting, Podcast distribution, branding, and marketing through social media. Till then, feel free to contact us if you need more advice to produce a podcast on a budget. If you're looking to create video content to promote or to produce derived products from your podcast or you're curious about live streaming. Feel free to contact us. We can help you build your audience and tap into existing ones.
Why not film it
Now your thinking... What should I focus on? The audio, video or both production. So many possibilities and different accounts to manage and content to produce. At Great Things Studios, we believe that well done audio production and video production is the best combination. Using both allow you to reach your audience in many ways and through multiple platforms such as social media. First, you have to know where your audience consumes content on the web. From there you'll have a good idea of what you should prioritize. But if you have good content, often time people are willing to read about it, hear about it and even watch videos about it. It is estimated that 17 percent of internet traffic will be live video streaming by 2022. If you plan everything well or step up your marketing game, this is good news.
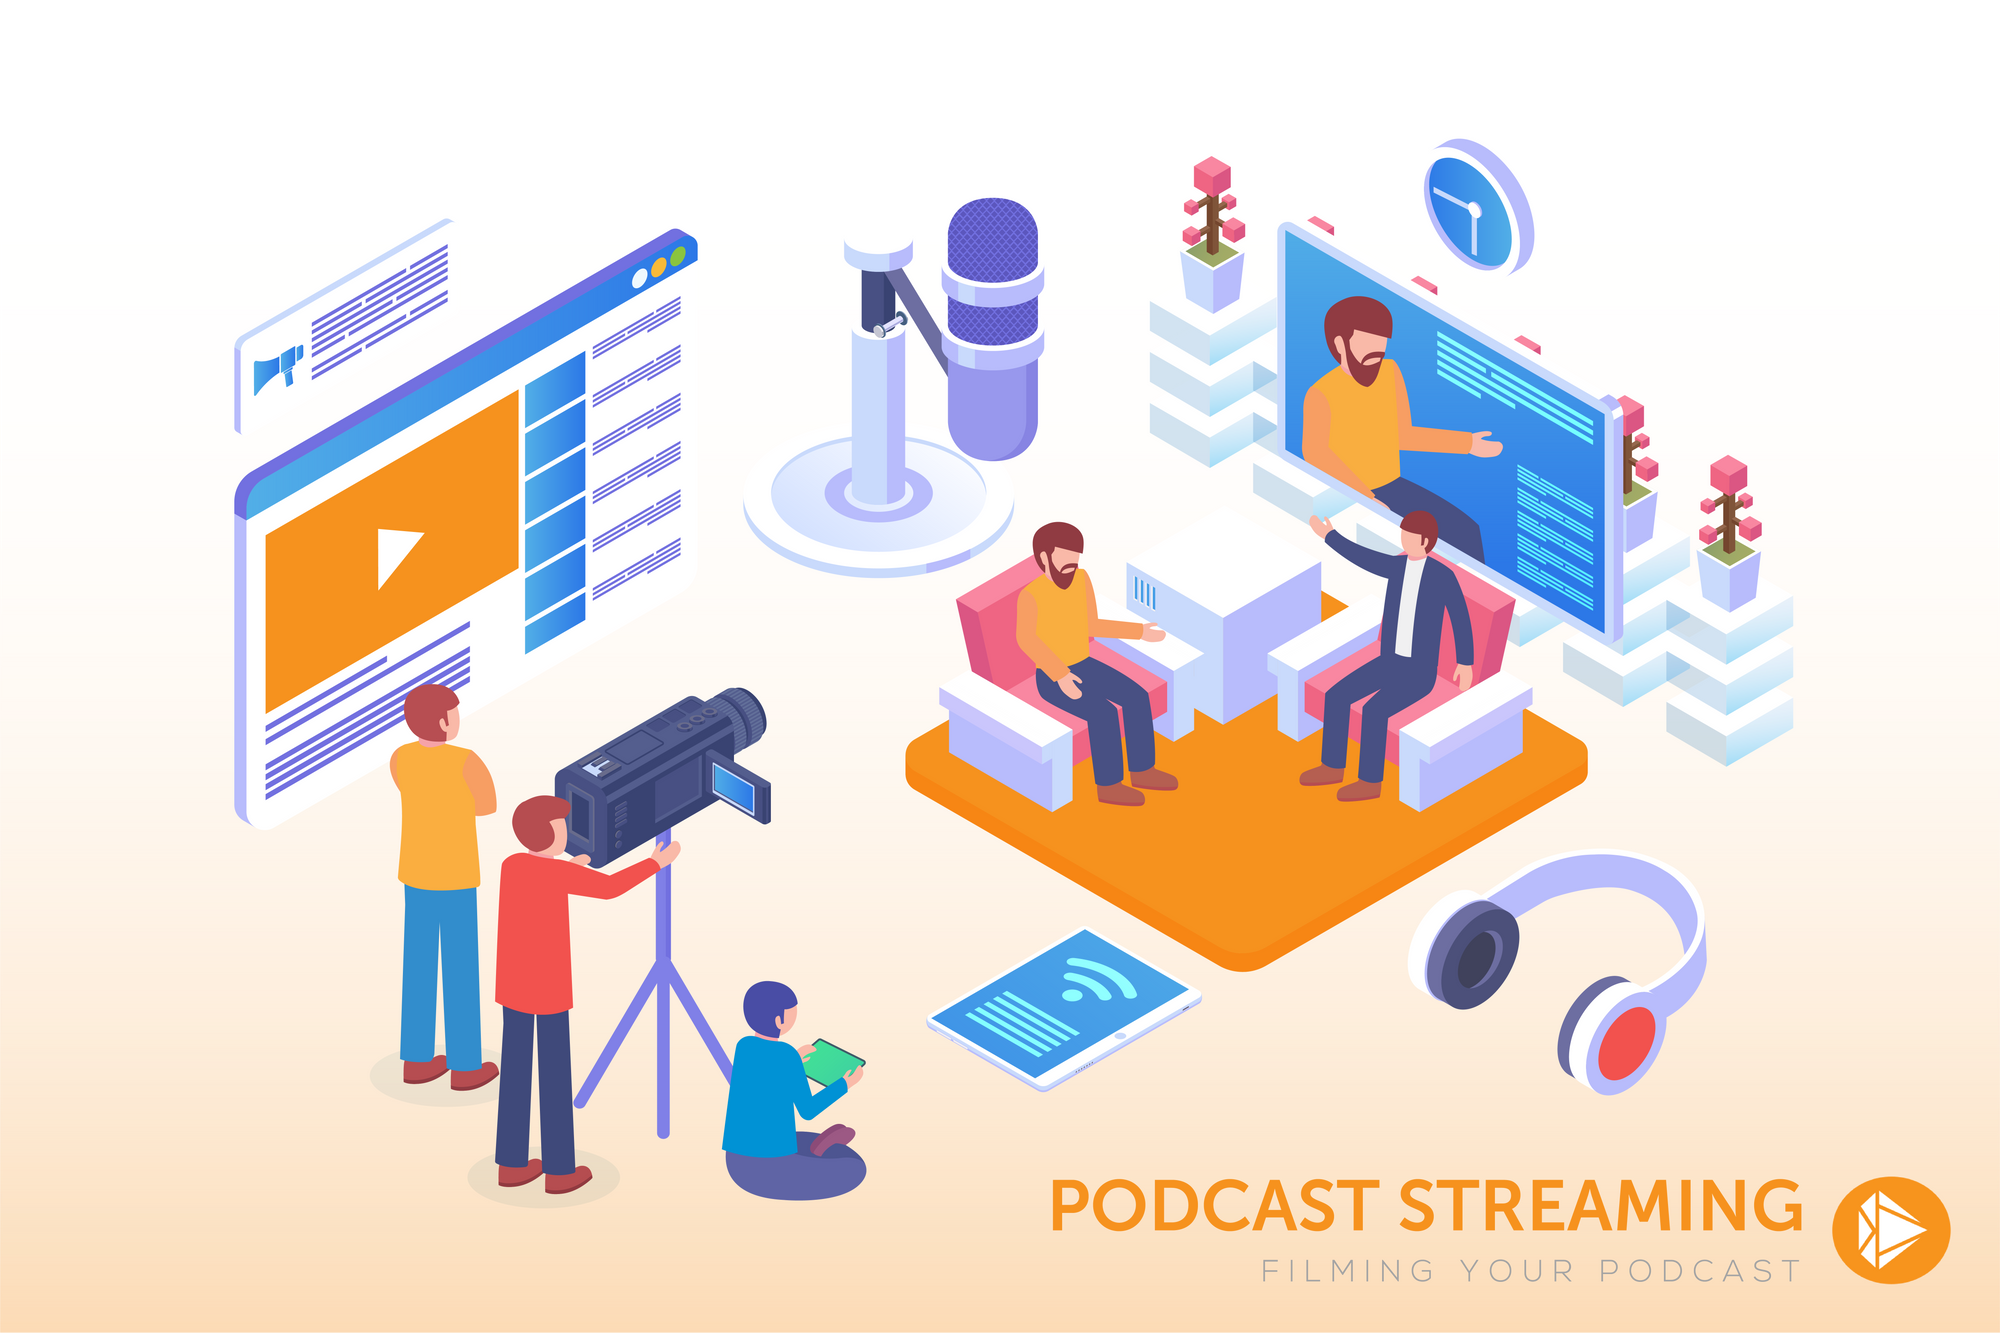
Don't hesitate to turn each episode of your podcast into:
- A detailed Blog post
- Cut it into small highlights
- Creat memes around your guest answers
- Film and make short versions for specific social media platform and format
- Takes pictures of the set and with the guests
- Do it live to engage with the audience
The more presence you'll have on the web, the better chance you have to be seen and build your target audience. More importantly, start today and build your project step by step. Having professional advice is a plus but you can still start by listening to live podcasts, take notes of the differences between each podcaster and the consistency they deliver their episode, analyze what tool they use to promote their podcast.
Let us know what's holding you from doing your own podcast. We might be able to make your dream come true!

